How to Make a 3D Hat on a Minecraft Skin?
If you have not been living under a rock, you must have heard of Minecraft: it is not just a game, but a sandbox. To one’s surprise, the adjustment of the appearance of your character is among the most unique features in Minecraft. Some attach to the basic 2d skins etc. but adding a 3D hat is doing it! If you are interested in how to make a 3D hat on a Minecraft skin, then it is high time you started reading this post. T his guide is suitable for people who do not have any experience making skins, as well as for those who would like to improve their skills.
What is a 3D Hat on a Minecraft Skin?
Minecraft skins consist of base layer and an overlay layer where the faces are put; the outer surface provides the option for 3D elements like headgear, eye wear etc. Knowledge of these layers is half the battle of making a three dimensional hat to bring some depth and flair to your Minecraft.
Understanding Minecraft Skin Layers
Minecraft skins have two main layers:
- Base Layer (2D): This is the flat layer that sticks directly to your character.
- Outer Layer (3D): This layer adds depth and can be used to create accessories like hats, masks, or helmets.
| Layer Type | Description |
|---|---|
| Base Layer | Flat layer covering the character |
| Outer Layer | Adds depth for 3D elements like hats |
The Purpose of 3D Hats in Minecraft
3D hats give players the chance to show off their creativity. It makes your skin more dynamic and unique, helping you stand out in crowded Minecraft servers. Popular skins often use 3D elements to showcase creativity, from simple beanies to elaborate wizard hats.
Tools Needed to Create a 3D Hat for Minecraft Skins
Creating a 3D hat for your Minecraft skin doesn’t require any advanced tools, but you will need the right skin editors to get started. Below are the essentials you’ll need.
Recommended Minecraft Skin Editors
There are several editors you can use to create a 3D hat for your Minecraft skin, both online and offline. Here are some top picks:
| Skin Editor | Description | Platform |
|---|---|---|
| Skindex | Popular online editor with a 3D preview | Web-based |
| Nova Skin | Advanced customization, 3D rendering | Web-based |
| Minecraft Skin Studio | Mobile app for easy skin creation | iOS, Android |
| PMCSkin3D | 3D skin editor with multiple features | Web-based |
Each of these editors allows you to add 3D elements to your skin, including hats, and preview them in real-time.
Basic Requirements: What You Need Before Starting
Before diving into 3D hat creation, make sure you have:
- Minecraft Java or Bedrock Edition (depending on your version)
- Internet access (for using web-based skin editors)
- A base skin to modify (either create one from scratch or use an existing template)
These tools and requirements will ensure a smooth process when customizing your Minecraft skin.
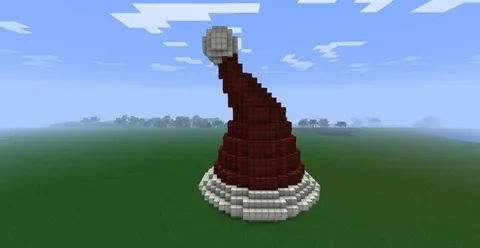
Make a 3D Hat on a Minecraft Skin
Step-by-Step Guide to how to make a 3D hat on a Minecraft skin?
Now that you’ve got the basics covered, it’s time to get into the fun part—creating your very own 3D hat! Follow the steps below for the best results.
Step 1: Designing the Base of Your Minecraft Skin
Before adding a hat, start by designing or choosing a base skin:
- Use a pre-made skin: If you already have a Minecraft skin you like, you can use it as the base.
- Create a new skin: Use your chosen editor to design the main body of your skin, ensuring it matches your style.
Once you’ve decided on the base, move on to designing the 3D hat.
Read Also : Discover the Adorable Smurf Cat Minecraft Skin
Step 2: Adding a 3D Hat Using Skin Editor
Here’s how to add a 3D hat using a skin editor like Skindex or Nova Skin:
- Open the skin editor and upload your base skin.
- Switch to the outer layer mode, where you can design 3D elements.
- Select the head section, then start drawing the hat. The editor will show you the difference between the 2D layer (inner) and the 3D layer (outer).
- Adjust the hat’s size and shape. Use the pixel grid to add depth by stacking pixels on the outer layer.
- Once you’re happy with your design, test it using the 3D preview feature available in most editors.
| Step | Action |
|---|---|
| 1 | Open editor and upload base skin |
| 2 | Switch to outer layer mode |
| 3 | Design the 3D hat using pixel grid |
| 4 | Adjust size, shape, and depth |
| 5 | Preview in 3D mode |
Step 3: Tips for Creating a Realistic Hat
When designing a 3D hat, keep the following tips in mind:
- Use shading and gradients to give the hat depth.
- Keep it proportional to the character’s head size.
- Experiment with shapes like wide-brimmed hats or tiny caps to add personality to your skin.
Step 4: Saving and Exporting Your Custom Minecraft Skin
Once your hat is ready, it’s time to save and export:
- Click the Save/Export button on the editor.
- Choose PNG format as Minecraft skins are typically saved as .png files.
- Upload the skin into your Minecraft account by navigating to the Skins section of your profile and uploading the file.
Troubleshooting Common Issues in 3D Hat Creation
Even with careful design, you might encounter a few problems while creating your 3D hat. Don’t worry, though! Here are solutions to some of the most common issues.
Issue 1: Hat Not Appearing in 3D?
If your hat isn’t showing up, the most common problem is incorrectly using the outer layer:
- Ensure that you’re editing the outer layer and not the base layer.
- Double-check that the 3D mode is enabled in the game’s settings.
Issue 2: File Format or Uploading Problems
Your skin might not upload correctly if it’s saved in the wrong file format:
- Ensure that your skin file is a PNG.
- If you’re using a different editor, convert the file to PNG before uploading.
Fixing Visual Errors on Different Devices
Skins sometimes appear differently on Java and Bedrock Editions. If your hat looks odd, make sure you’re using the correct version and editor for your Minecraft edition.
Enhancing Your Minecraft Skin with Additional 3D Elements
Once you’ve mastered creating a 3D hat, why stop there? You can use the same techniques to add other cool elements to your skin, like glasses or masks.
Adding Other 3D Accessories (Glasses, Masks, Helmets)
Here’s how you can add more 3D elements using the outer layer:
- Glasses: Use the outer layer on the face and adjust the pixels for lenses.
- Masks: Design directly on the outer layer to cover the face and add texture.
- Helmets: Follow a similar process to the hat creation but expand the design to cover more of the head.:
Read Also : Game Played on a Road Trip NYT : Baldur’s Gate 2 Enhanced in game Manual
Creative Ideas for Your Custom Minecraft Skin
Let your creativity flow! Try designing unique skins that combine multiple 3D elements:
- Wizards with tall hats and robes
- Robots with helmets and mechanical arms
- Superheroes with masks and capes
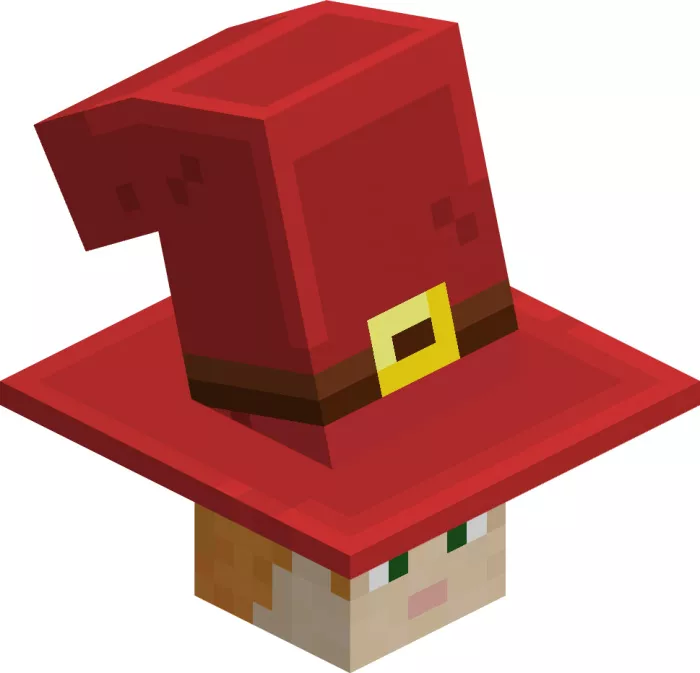
About 3D Hats in Minecraft
Conclusion: Creating Your Own 3D Hat is Easier Than You Think
Customizing a 3D hat to your skin in Minecraft is always interesting to make your avatar unique. By using right tools and bending our imagination a little bit, we can make our hat and add character to our in-game avatars. Something to note here again is that good lighting such as shading and correct proportions make a great 3D hat. Besides, when you already know how to properly add hats onto the skin, it’s easy to go further in employing 3D items.
So, what are you waiting for? Get out there and start designing!
FAQs: Common Questions About 3D Hats in Minecraft
Can I Add a 3D Hat in Minecraft Bedrock Edition?
Yes! Minecraft Bedrock Edition supports 3D skin layers, so you can add hats and other 3D elements just like in Java Edition.
How Do I Change My Hat’s Design After Exporting?
You can upload your skin back into any skin editor, modify the design, and re-export the updated version.
What If My Skin Editor Doesn’t Have 3D Layer Features?
Try using another editor, like Skindex or Nova Skin, which support outer layers for 3D elements.
Can I Make Other Parts of My Minecraft Skin 3D?
Absolutely! You can add 3D features to any part of your Minecraft skin, not just the hat.


